Pages

Showing posts with label party people. Show all posts

Saturday, August 27, 2011

How to: Bake Rainbow Cakes and Cupcakes

The first time I saw a rainbow layer cake online, I was in love.

I decided I simply had to try it out for myself, and I was thrilled with the results. They are really quite easy. You can also adapt the recipe to suit cupcakes (see additional notes at the end).


First, make a basic buttercake mixture.
My favourite is the 2-4-6-8-Buttercake that my wonderful Nanna Betty taught me.

2 eggs
4oz butter
6oz white sugar
8oz self raising flour
and a healthy dash of vanilla extract
(to convert ounces to grams, multiply by 28. I generalise and multiply by 30 - e.g 4oz = 120g, 6oz = 180g)

To make the Buttercake mixture, cream together the butter and sugar, and slowly add the eggs and flour. Beat until smooth.

TALL RAINBOW LAYER CAKE
(1) To make the tall layer cake, I make a double mixture, and divide into 6 small bowls. Add enough food colouring to each bowl to get a strong colour. I start with a teaspoon of colour and add a drop at a time until I reach the brightness I like {I use the affordable "Queen" food colours readily available in the supermarket}


(2) Make 6 layers by baking each colour individually in an 8" pan. Each cake will be quite thin, don't panic! Bake at 180C for 10-15 minutes {check regularly with a skewer and take out as soon as cooked}.

(3) Sandwich the layers together - either with a basic buttercream, or simply by layering them while hot out of the oven so that they stick together:


(4) Frost the outside with buttercream and decorate as you wish! In the past I have surrounded it with white chocolate shards or rolled out fondant icing to cover.

To make buttercream simply beat together margarine, a teaspoon or two of vanilla extract and icing sugar until it is a lovely pale colour and tastes fantastic :)

Et Voila!


RAINBOW 'DROP' CAKE

I make my Rainbow "Drop" cake for smaller crowds. Using a single batch of buttercake, mixed up with the same colours as in Step (1) above, I drop spoonfuls of batter into an 8" pan in concentric circles. Bake at 180C for 25-30mins.


Or you can make lovely little CUPCAKES like these:

Image from Baking Bites - unfortunately I don't have a photo of my own cupcakes to share.

(1) To make cupcakes, I thin down the buttercake mixture slightly by adding some milk (about half a cup, but I add it slowly and stop if the batter starts becoming too runny).

(2) Mix up the colours in the same way as for a full cake.

(3) Add one teaspoonful of the purple mixture into each cupcake case/patty pan. Tap the tray on the bench to distribute the batter evenly.
Add one teaspoonful of the blue mixture to each pan, and gently tap the tray (do not try to spread the mixture out as it will mix with the colour underneath).

(4) Continue with each colour. Depending on the size of your cupcake cases, you may need to use less colours so as to not overfill each case.

(5) Bake at 180C. Allow to cool, and frost with a generous serve of frosting :)

***

You could make these in any colours you like. Pastels, blue & pink for a baby shower, company colours, favourite football team colours - the sky's the limit!

I'd love to see your variations - please do email them to me at nosuzyhomemaker at gmail dot com if you give it a go!


Sunday, March 28, 2010

Traditional Honey Biscuits (Cookies)

Thank you for the kind responses on my last post. I always dread hitting "publish" on posts like that for fear of being judged. I know there are so many people out there ttc their first baby for years, and here I am with two live children...complaining! But as always things are more complicated than at first glance. And I thank each of you for your support and love :)

As you are all such good little readers...your reward is my favourite recipe of all time! These are what we gave out as favours to all our friends who came to Monsters Birthday party - in cellophane bags with a thank you tag.


Traditional Honey Biscuits
(I believe in the US they would be called cookies rather than biscuits)
(And because I love you all, I'm even going to put it in metric and imperial measurements!)

This recipe makes lots, and I mean lots of biscuits. Super simple recipe too.

You'll need to melt together in a saucepan:
500g (18oz) Honey
500g (18oz) light brown sugar
3 tablespoons of butter

Then remove from the heat and beat in:
3 eggs
1 teaspoon of powdered cloves
2 teaspoons of mixed spice
2 teaspoons of bicarbonate of soda
1 kg (2.2lb) plain flour

I recommend adding the spices to the flour and mixing the flour in slowly (1 cup at a time).
Cover the bowl and leave it overnight.Roll the dough out in batches and use cookie cutters to make fancy shapes - or - roll into balls and flatten on the tray. You need to make sure they are at least as thick as this ^^ or they will be hard and way too crunchy! But hey, if you like your cookies thin and very crunchy...go nuts!

Bake in a moderate oven (160C / 320F) for approximately 15-20 minutes.

The traditional icing (frosting??) we use is egg white, icing sugar and lemon juice, but a thin ordinary icing works fine too. We actually don't ice them anymore, my Rocket is sensitive to sugars so we limit them wherever possible, and we've discovered we prefer them plain!


Wednesday, March 24, 2010

The Puppy Party - part one

The Table:

We had puppy paw prints leading up the driveway, through the entrance and up the stairs to the party. This was great as it meant we did not have to run downstairs to open the door every time someone arrived...they all followed the paw prints!


The banner I made - ignore the "blank" ones - I removed his real name (clearly his real name is not Monster! *gasp* SCANDAL!!)

You can see my Martha Stewart efforts paid off with my pompom there - I have a tutorial on how I made them coming up in a few days - they were very easy!


The Great Wall of Monster. Birth to his First Birthday - my favourite photos. This was a real hit with our guests who spent a lot of time oohing and ahhing over the cuteness that is Monster!


Every table at every party needs fresh flowers. These are from our backyard...very handy...and in the co-ordinating party colours!! And a thankyou in a frame. My favourite part of the decorations.


One of my favourite creations! I printed out the design, my partner laminated it and put double sided adhesive on the front and we stuck the design on the back of clear plastic plates. So simple but SO effective. Will definitely be doing this from now on for all my parties!


A standard at all my parties are dips with pita chips. Simply take a pita bread, and use a cookie cutter to cut shapes out. Stick into the oven at a moderate temperature for about 6 minutes. So tasty and so much healthier than fried potato chips! I have cookie cutters for all occasions...its one thing I spend my money on when deciding on a theme...co-ordinating cookie cutters! I have quite a collection now!


One of the small tables on our roof deck with some dress ups for the kids. I also had home made playdough (in a co-ordinating colour of course!!) and musical instruments for the kids and adults to play with.
Party bags and favours. I designed and made all of the co-ordinating stationery items - the party hats, the blowers/horns, the water bottle labels, the gift bags etc. using the puppy paper I posted earlier. The bubbles had stickers of easter pictures on them...it was easy to make stickers out of my designs to go over the top! I do wish I had managed to find a set of all green bubble tubes...so it matched ;)


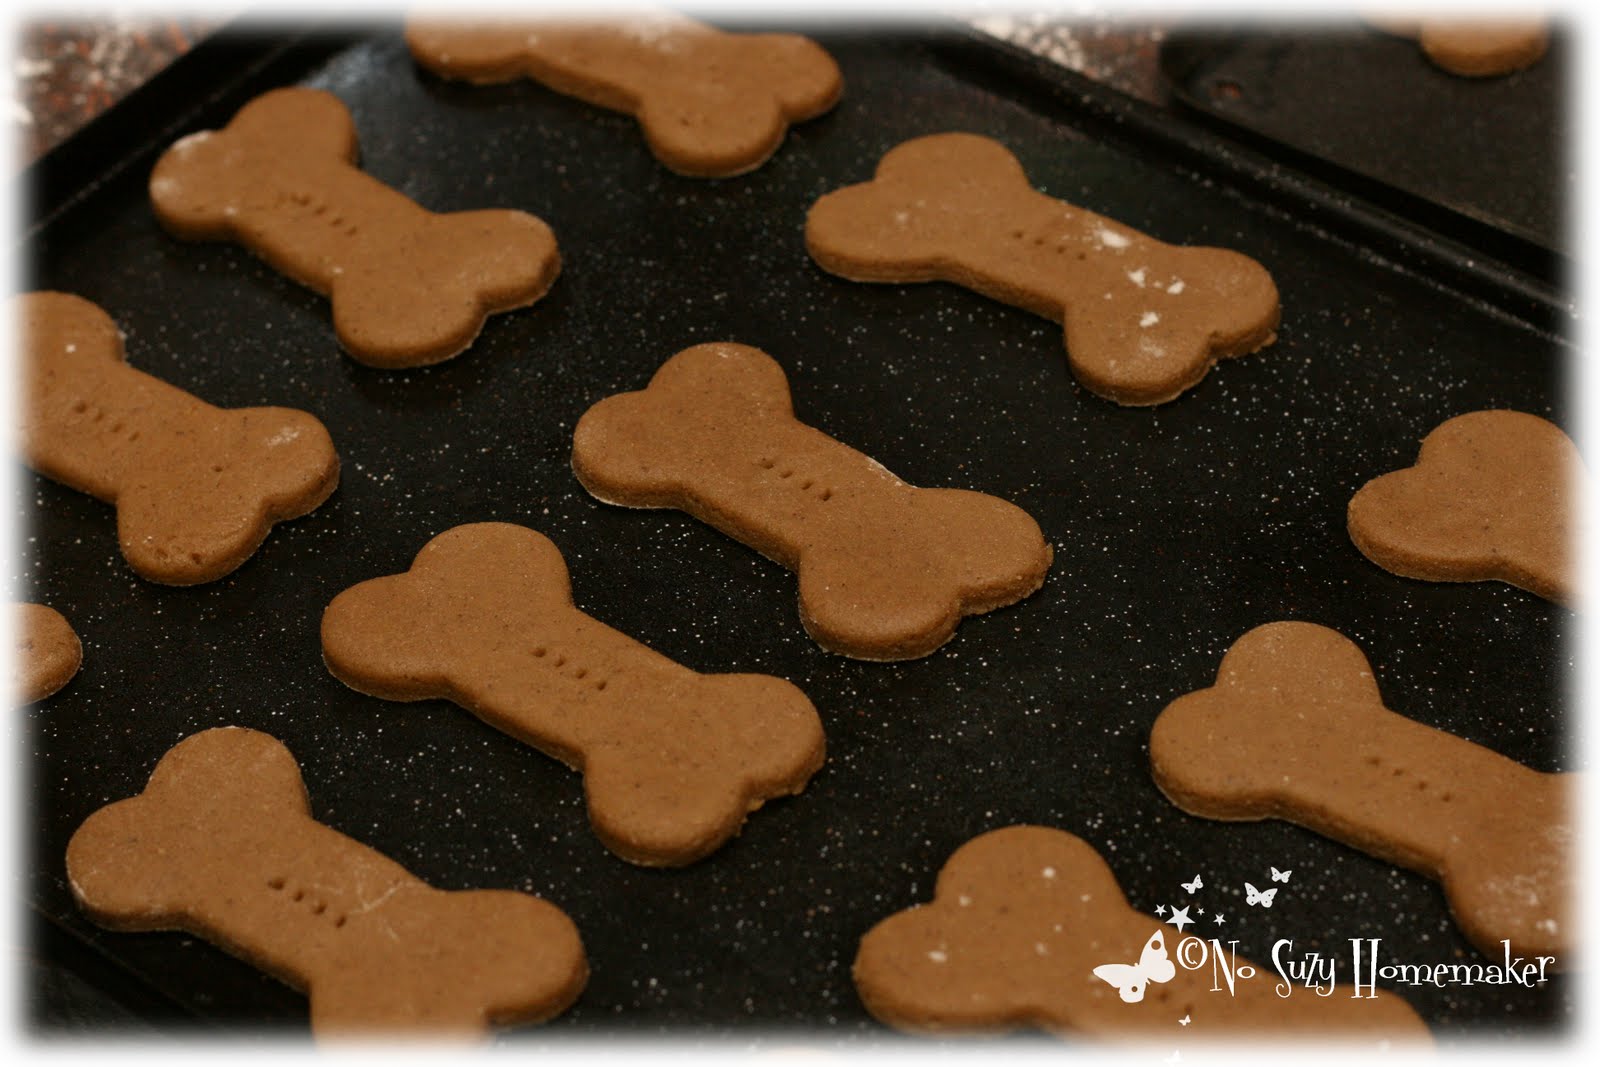
These were the favours we gave out to everyone who attended (only the kids got gift bags). They were very well received and SO SIMPLE to make! I actually plan on posting this recipe later in the week, it is a traditional family recipe (from the german side of my family) for honey biscuits. They are divine. I've been having one with my morning cup of tea every day this week!


And of course...the BIRTHDAY CAKE! Isn't it a hoot? I've tried so many times to make fancy shaped cakes for all sorts of occasions and they never turn out the way they look in my head. This one came out perfectly and was so incredibly simple. Everyone thought it was fantastic and laughed a lot too. Monster loved picking the cocoa bombs off the top and eating them!


Last but not least...these are the favours I made for each child at 3am the night before the party! They each got to adopt a puppy, I made adoption certificates and got them to sign them and name their puppy. This is what I meant when I said NEVER AGAIN! But they were so darn adorable that it was worth it!


More photos to come later in the week of more party goodness...and the recipe and a few craft tutes too. Oh and stay tuned for my massive IVF rant...yeah good times over here!


Monday, March 22, 2010

man the party stations!

It has been a very, very long week!

To sum it up - the little Monster got sick Monday night, which meant I had to take Tues and Wed off work. Good timing, no? Lots of time at home to do party stuff, right? HA! Not so much. He was stuck to me like a koala in a cyclone. There was no putting him down for anything. So not too much was actually achieved during my days at home.

Then Friday my mother was taking both boys overnight so we could prepare the house and all the party decorations etc...and on her way home she rings me "do you think Monster could have whooping cough?" I googled it while she was on the phone, and despite the fact that he has been immunised against it, I was instantly convinced that's what he had. I threw my hands in the air and wanted to cry. "All for nothing!" I raged. "All those 2am nights getting party stuff organised and I'm going to have to cancel! Our interstate visitors are coming for nothing!"
So I downed tools and declared the party OFF. Sat down and ate chinese while watching Transformers instead.

Took Monster to the Drs on Saturday morning, where the Dr laughed at me and told me "dont be silly thats not whooping cough. He will be fine for his party!"

Cue me returning home screaming "Man the party stations! All hands on deck!" and trying to make up for the 16 hours of sulking I had done instead of preparation.

I was up until roughly 3am on Saturday night...then as I was going to bed Monster woke up crying and kept me awake most of the rest of the night.

Sunday morning was panic stations. There were cupcakes to be made, a birthday cake to be made, and cut, and decorated, 2 dozen quiche to be made, food to be put out, more pom poms to be made, party hats and party bags to be put together, balloons to be blown, kennel to be cleaned, etc etc ad nauseum.

And then..........80% of people didnt show up.

And I was so exhausted and out of it that I barely remember any of it. All in all, disappointing and enough for me to declare "NO MORE PARTIES" last night.

But let's be serious. I adore parties. Most of the fun, for me, is in the planning.
The whole no-one turning up thing though...I could definitely do without :(


party photos, crafts and how-to tutorials to come tomorrow :)

Tuesday, March 16, 2010

Puppy Party Sneak Peek

Monster Baby's birthday party is this Sunday. I was absurdly excited to plan it, but unfortunately life has firmly got in the way and a lot of my planning has been laft far too late to pull off all the things I wanted to do :(
On the upside, a fortunate find has led to a whole new theme (still going with puppies though...little man demands it!)
For a sneaky peek...

<---- this is some paper we stumbled upon in a dollar store and that I am using for all of the matching stationery (gift boxes/decorations/napkins/party hats/water bottle labels/cookie bag labels/cupcake toppers etc)

These are our guideline colours - but now I am leaning more towards lots of shades of brown and a hint of green with less blue. I do already have some adorable blue dog bowls in these shades so blue has to be in there!


And these ----> are my craft project for this evening. Let's see if I can pull them off. Martha Stewart seems to think they are easy but methinks she may be more experienced than I!!


Stay Tuned for some more party goodness in the next few days :)


LinkWithin

Related Posts with Thumbnails